Project 4 VMWinter 2026
Project 4 requires a specific architecture (x86_64) and specific kernel changes, meaning that we aren’t able to distribute the project environment via Docker. It instead comes with a virtual machine, which you can control either via a terminal or via SSH, which allows VS Code to be used in remote mode similarly to the Docker workflow. Project 4 must be completed within this VM. Do not update the software in the VM! Doing so may change the behavior of your project code.
It is your responsibility to set enough disk space aside on your personal device
for all course material, including this VM, and to make regular backups of your data
(snapshots in VirtualBox will be covered subsequently in this tutorial). If disk
space is scarce, you may want to consider migrating your data to the cloud (umich.edu
Google accounts provide unlimited storage), or to an external storage medium.
Except in the most extenuating circumstances, the course staff are not able to
provide accommodations due to a lack of space and/or loss of data.
Last but not least, if you run into any problems while reading this guide, there are a number of sections addressing troubleshooting at the bottom of this document. We will update this document continually as we encounter new problems or parts where many people are struggling on.
This guide is split up based on your host operating system. Navigate to the relevant section: Windows and Linux hosts, and macOS hosts.
Setup
Windows and Linux Hosts Install
Step 1 - Download the VM and VirtualBox
Download the VM appliance (eecs388p4vm.ova) from here.
You will use VirtualBox to run the aforementioned VM. Download the latest version for your host operating system here.
Step 2 - Import the VM Appliance
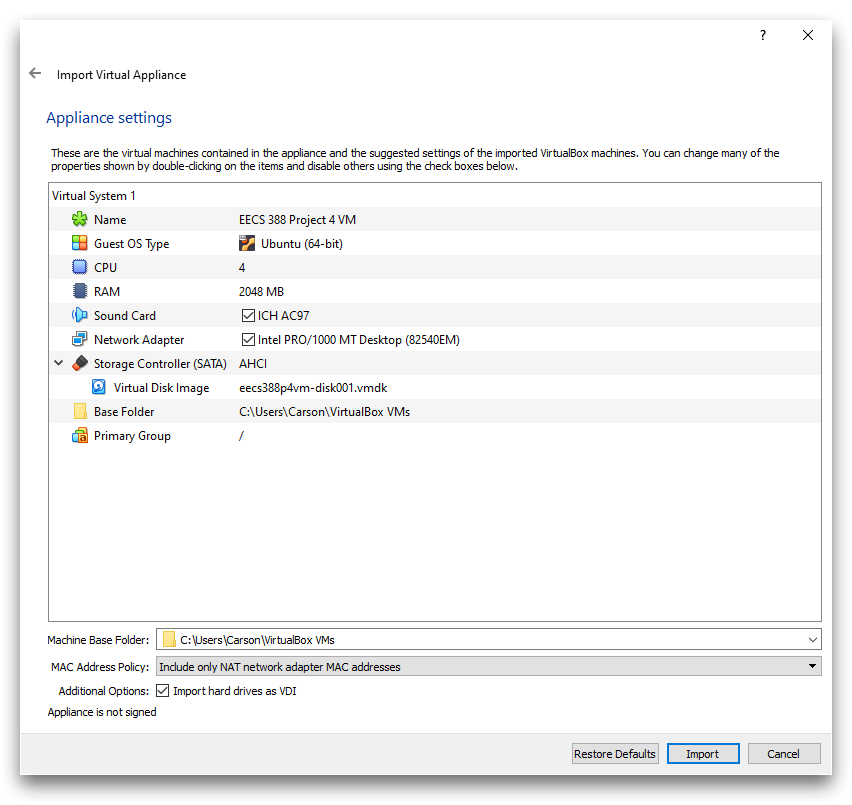
In VirtualBox’s main menu, navigate to Tools, and then Import. Select the
VM appliance file (eecs388p4vm.ova) which you downloaded, and continue to click
the Next button until you are no longer prompted; you do not need to modify
any settings. Simply verify that your default settings look like the image below:
The import process may take several minutes. Once complete, run the VM. After clicking start, the start button should switch to “Show”—this is expected! Because the VM is intended to be connected to via SSH, no window opens up for it by default (“headless” mode); it is simply running in the background (“Show” can be used if you need to debug the SSH connection).
Once you’ve successfully installed the VM, continue on to the Workflow section!
Optional - Take a Snapshot
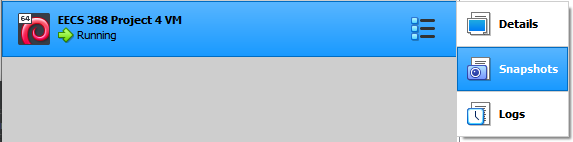
VirtualBox snapshots allow you save the state of your VM at a point in time. From the VirtualBox manager, select Snapshots as shown in the image below. In the panel that appears, click Take to save a snapshot; should you make an irrevocable mistake, you can always revert to this initial snapshot instead of downloading the VM appliance again (just note that any files created or edited in the VM since the last snapshot will be lost.)
macOS Hosts Install
This install method works on both Intel and Apple Silicon Macs.
Step 1 - Download the VM and UTM
Download the VM appliance from here.
On macOS, we will use a program called UTM to run the VM. Download UTM from here and move the application to your Applications folder for future use.
Step 2 - Import the VM Appliance
Double click the EECS 388 Project 4 VM.utm file in your Finder
(you may need to extract it from the .zip manually depending on the browser you’re using),
which should open UTM to a screen similar to the following:
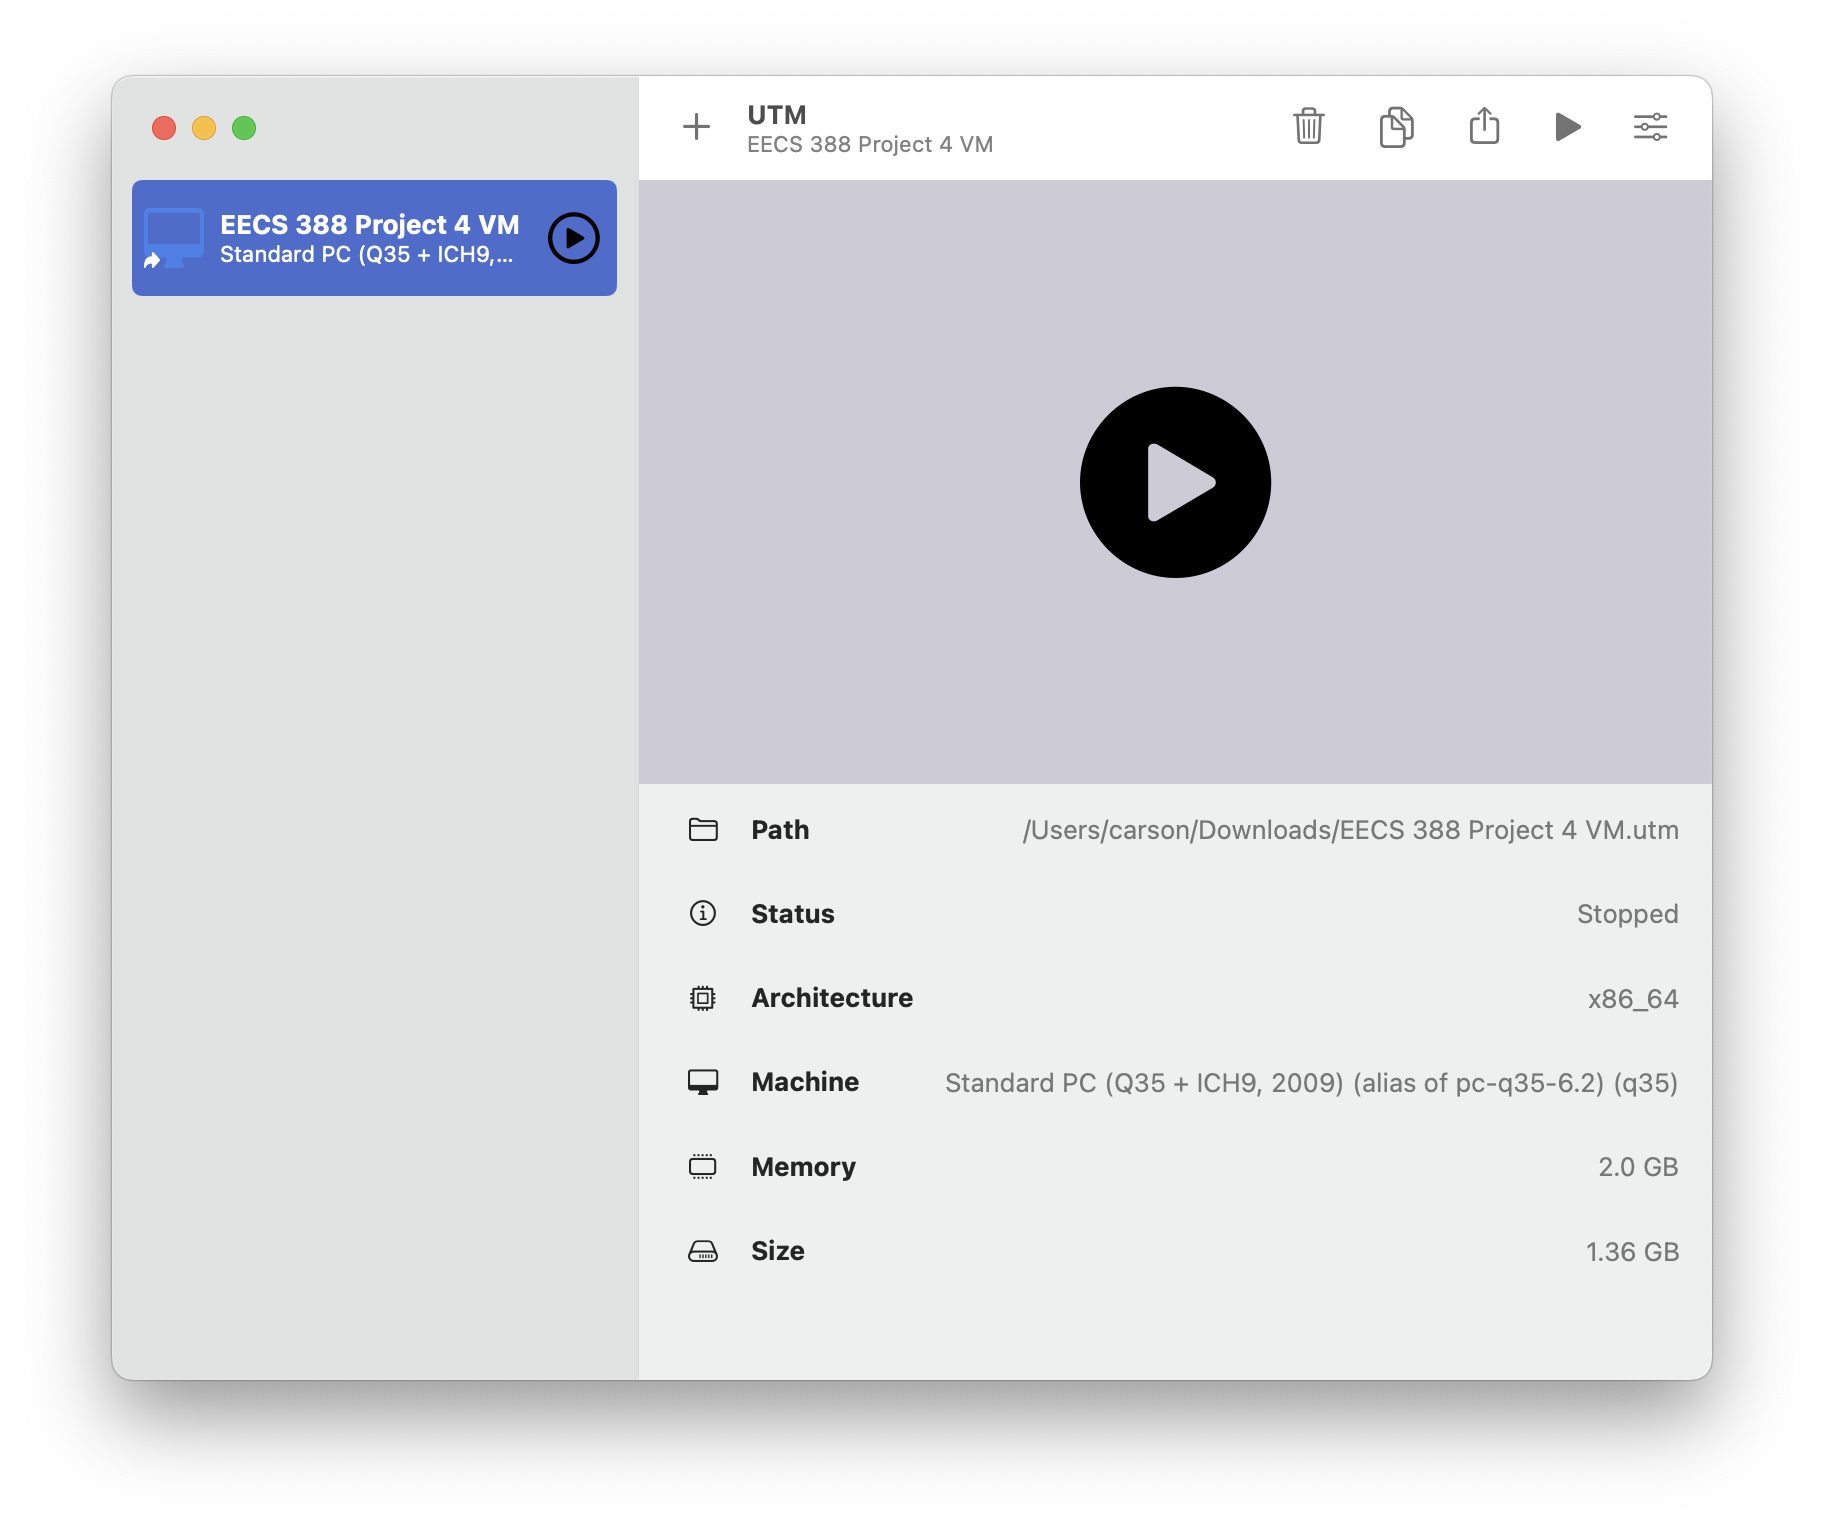
The architecture being x86_64 is expected, even if you are on an Apple Silicon Mac! This is the architecture of the virtual machine, which will always be based on x86_64.
After clicking run (any of the three play buttons found in the above screenshot will work), you will see some text flash across the screen; after a few seconds, you should be greeted with a login prompt. You are now safe to minimize this window, but do not close it—UTM unfortunately does not feature headless support like VirtualBox. This window will need to remain open, even if in the background, while you are working.
Workflow
Just as you’ve used VS Code remote mode to work within Docker containers so far in the course, it can also be used to work within virtual machines (or any other machines) via SSH. We intend for the workflow in this project to be similar to that of past projects, with slightly more setup around the SSH connection required. The VM is set up to automatically open port 4388 (can you guess what this port is 4? Ha ha funny us.) on your host at which its SSH server can be reached, meaning that we can easily connect VS Code to the VM and work within it:
If you’re working on a Windows host, first run VS Code within Windows rather than within WSL 2 by clicking on the remote icon in the bottom left and choosing “Remote-WSL: Reopen Folder in Windows”. This is because WSL 2 runs in a VM of its own, and cannot access services run in the Windows host by default.
-
Inside VS Code, search the extensions marketplace for “Remote - SSH” and install the extension if you haven’t already done so.

-
Next, open the command palette (CTRL+Shift+P on Windows and Linux, ⌘+⇧+P on macOS) and search for “Remote-SSH: Connect to Host”. A dialog will appear asking where you want to connect—enter
eecs388@localhost:4388: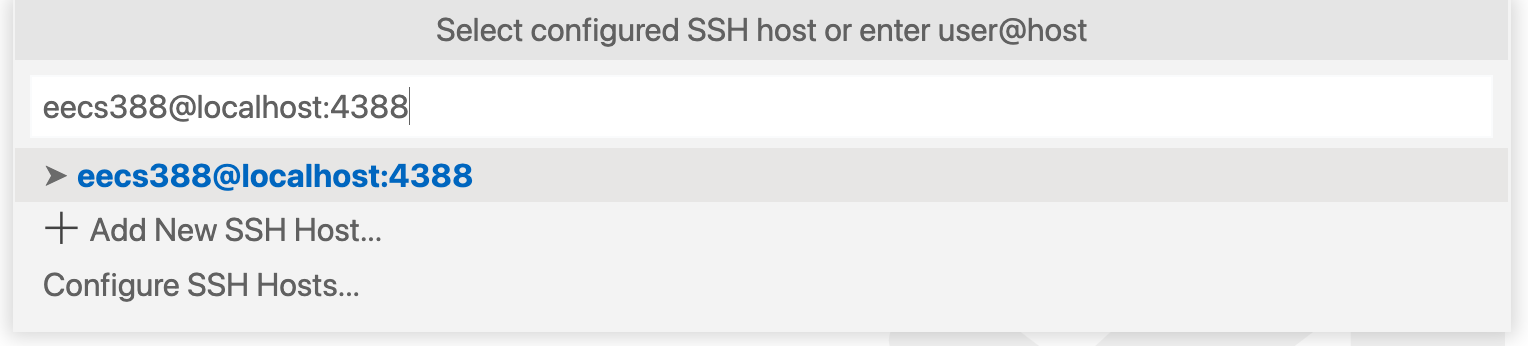
If you’re asked for the operating system of the remote, select Linux.
Setting up the VM as a persistent host in VS Code can be convenient, but the syntax to do so is different. If you select “Add New SSH Host”, you’ll see that VS Code prompts you to enter the SSH Connection Command, which in this case is
ssh eecs388@localhost -p 4388, rather than using thehost:portsyntax of the “Connect to Host” prompt. -
The window should exit and re-open shortly, at which point you’ll be prompted for a password. This is the password for the
eecs388user, which iseecs388. Once you enter it, your VS Code window will now be connected to the VM! You should see “SSH: localhost:4388” in the bottom left corner of the window. You might now want to install any extensions that you have in your local VS Code instance into the VM—open the command palette once again and search for “Remote: Install Local Extensions in…”, select the box at the top to select all extensions, and install. We recommend the following extensions:- C/C++
- Python
- Even Better TOML (for lab assignment 4)
You should now essentially feel exactly like you’re developing on your local machine with the same settings and extensions, while you’re actually in the VM! For example, here is what you might see after opening a terminal and seeing what folder we’re in:

With user eecs388 and folder /home/eecs388, it’s clear that our
VS Code instance is connected to the VM.
You are now able to do your work within VS Code and its terminal view, and can also copy files from your host into the VM with a simple drag into the window. You are also free to work over classical SSH in a terminal or even in the VM window, but we think that this workflow should be the most comfortable at this point in the course.
Ghidra
Ghidra is installed in the VM out of the box, and is accessible in a manner similar to previous GUIs available through Docker.
Once the VM is running, connect to http://localhost:38804 in your browser or to vnc://localhost:38854 in a VNC client to open its window.
Troubleshooting
If everything works well so far, you’re all set—no need to scroll further down in this document. However, if that is not the case, you might find the following helpful.
CPU Virtualization
VirtualBox requires an x86(-64) processor with hardware-assisted virtualization; such feature is called VT-x on Intel processors and AMD-V on AMD processors. If you have a Mac, virtualization should be enabled by default in firmware. If you have a PC, chances are the feature will be enabled from the factory, yet this is not always the case.
In order to enable virtualization, you will need to enter the setup menu of your BIOS or UEFI on your PC. The key combination to press immediately after startup differs by PC manufacturer, but oftentimes it is one of F2, Delete, F10, F12, or Esc. Consult your manufacturer’s documentation if you are unsure. The location of the setting will also differ by manufacturer. However, the name will almost always include ‘virtualization’ or ‘virtualization technology’.
Reinstalling the VM
If you reach a point where something inside the VM is broken and you have no idea how to fix it (and no one on Piazza or at office hours knows how to fix it), then it might be necessary to reinstall the VM from scratch.
Before you do this, make sure that all your work is saved. Commit any remaining changes to Git, then push those commits. Once you’ve confirmed that all your work is safe on GitHub, you can then delete the VM.
After you delete and reinstall the VM, the new system will have a different SSH key. Since your SSH client doesn’t know
about this change, it will assume this might be the result of a MITM attack. Go to your SSH known_hosts file (usually)
located at ~/.ssh/known_hosts and remove any lines that start with [localhost]:4388. Under most circumstances, you
should never delete anything inside known_hosts since it can make you vulnerable to MITM attacks, but since we know
that this is only happening because we reinstalled the VM, it’s okay.